_2d2230.png)
_5a42ce.png)

garnayrob
Member
-
Joined
-
Last visited
Everything posted by garnayrob
-
😄 Let me know how it went!!
-
Thanks, I did look at options to temporarily provide a battery feed, but in the end I let the alarm sound for 15mins (pre-warning neighbours in advance)!! 😆
-
As i expected, thanks for confirming, much appreciated. In my crazy mind, I was wondering if you could rig up something to temporarily pass voltage down the line to make it think it was still connected, but probably more effort than it's worth.
-
Yes it is, doh would have helped to mention that!!
-
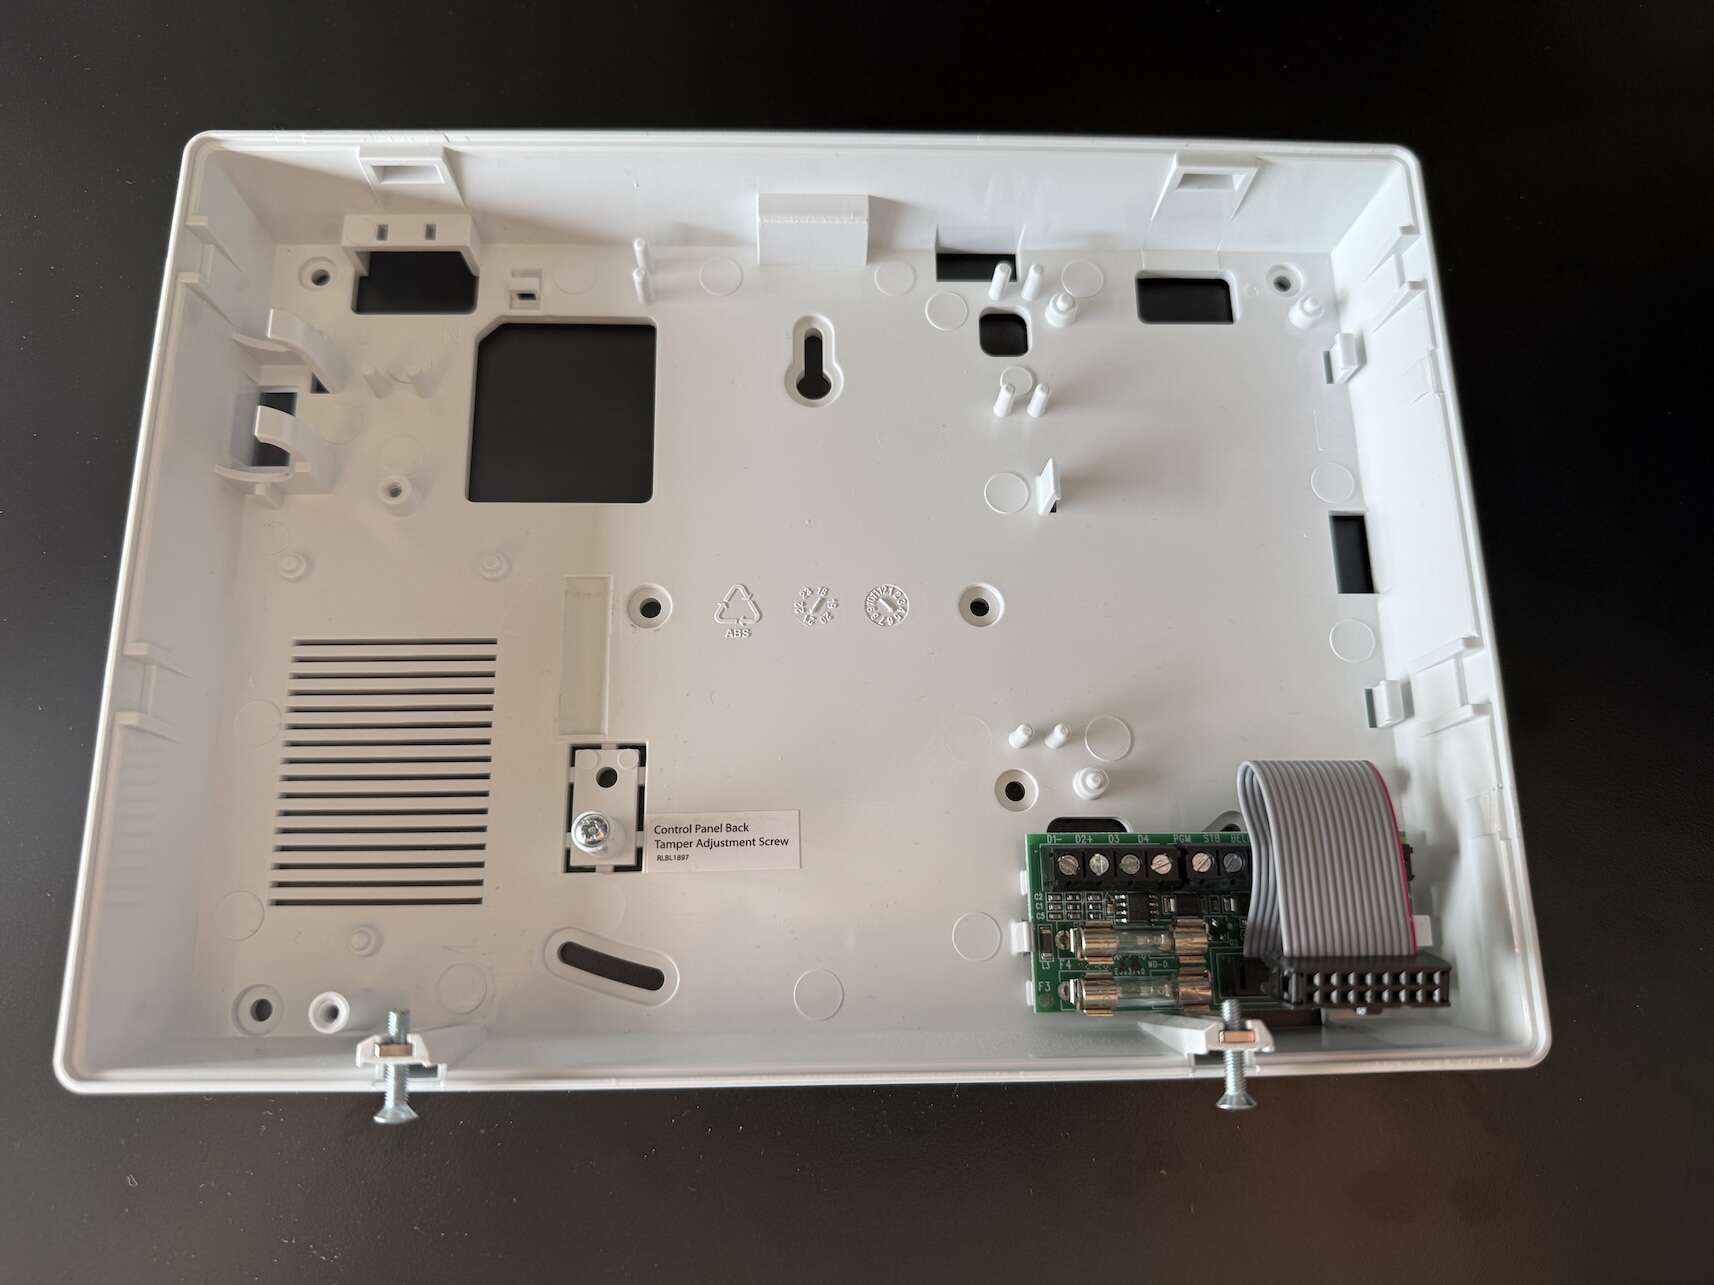
Hi all, One of the two bottom screws securing my Pyronix Enforcer control panel snapped, meaning it's currently held together with electrical tape! I've got a replacement backplate to fit, but this obviously means I've got to disconnect everything to fit. Is there any way I can disconnect the Deltabell and stop it from sounding while I swap over the backplate? I think I know the answer, but the Deltabell is up quite high and a pain to get to. Any advice on what is probably a stupid question much appreciated! Thanks, Rob.

-
Thanks everyone for the advice, much appreciated.
-
Hi, I've just hard wired a Pyronix DeltaBell (with backlight) to a Pyronix enforcer panel, but it's not working. It was previously working fine with the same panel at another location. This time, I have not wired the tamper circuit (I removed the switch), as it's up high and the fitting surface is not particularly great. I did a reset on the panel, so the Z33 for the tamper is not active. Endstation ouput/bell output is set to 014 / Siren Any. I've only fitted 3 wires as follows: STB on siren to STB on the panel Bell on the siren to Bell on the panel 12V+ on the siren to +12v on the panel When the alarm is triggered, the internal siren works fine, the outside siren does not. I don't think the comfort lights are active either? On the siren, the battery is enabled (J8 jumper is connecting pins 1+2) on INT and the sounder cable is fitted correctly. Am I being a total n*b, what have I done wrong here? Thanks Rob.
-
Brilliant, thank you!!
-
Interesting! Could you please share how you wire this in? Any tips gratefully received! Cheers, Rob.
-
Thanks James. Any recommendations / links to standalone tx kit that will do the job?
-
Hi, I want to install 2 fixed PA buttons for the Pyronix Enforcer. Are there any wireless options (other than using fobs)? From what I can see, the only solution is to hardwire in the PA buttons (cheap as chips but a pain in the ass). I've got the V10 panel. Thanks Rob.
-
Thanks ?
-
Hi all, Could I please get some wiring guidance on connecting a Honeywell AG6 external siren to a new Pyronix Enforcer panel (v10). I’ve made some assumptions on the siren terminals (left side) and just need to fill in the blank on the right for the Tamper Return: ST- = STRB R- = ??? SW- = BELL V+ = +12v V- = COM Many thanks! Rob
-
-
Hi all, just in case anyone else trying to do this, I ended up doing the following: Omitting the two zones (setting to off) for Part Set 2 (which I renamed text to “Dog at Home). No change needed to front door contact (zone 9) - this behaves the same way by default allowing you to exit and enter / counting down. I also allowed the Part Arm to exit tones in the Area Options by clearing out “AB” areas from Part Arm Silent. Had to test it all with family roaming the house, made easy with a few bits of tin foil over the active PIRs ?
-
-
Hi, Appealing to the Texecom experts for some guidance! I have a Texecom Premier Elite and want to Part Set my alarm for when the dog is home and we go out. I’ve configured Part Set 2 to omit 2 PIRs in the space the dog occupies, however what I can’t get my head around is how I enable the front door contact (Zone 9) to act as an Entry / Exit rather than being armed. I want to be able to set alarm as Part Set 2 and exit through the front door contact (Zone 9) as I would when setting the alarm normally. Likewise I want to be able to enter and disarm as normal. How do I achieve this?